


The first step to follow for a correct import from Rhinoceros is to observe the export formats compatible with Eyecad VR. Eyecad VR can import in various formats, but it is preferable to use FBX and 3DS (in order of importance).
Rhinoceros versions with updated export formats are Rhinoceros 5 and Rhinoceros 6; the latter is preferred over the first.
Once you are sure that the version of Rhinoceros is compatible with Eyecad VR, you need to follow two simple steps to export a well-optimized 3D model for real-time rendering and virtual reality.
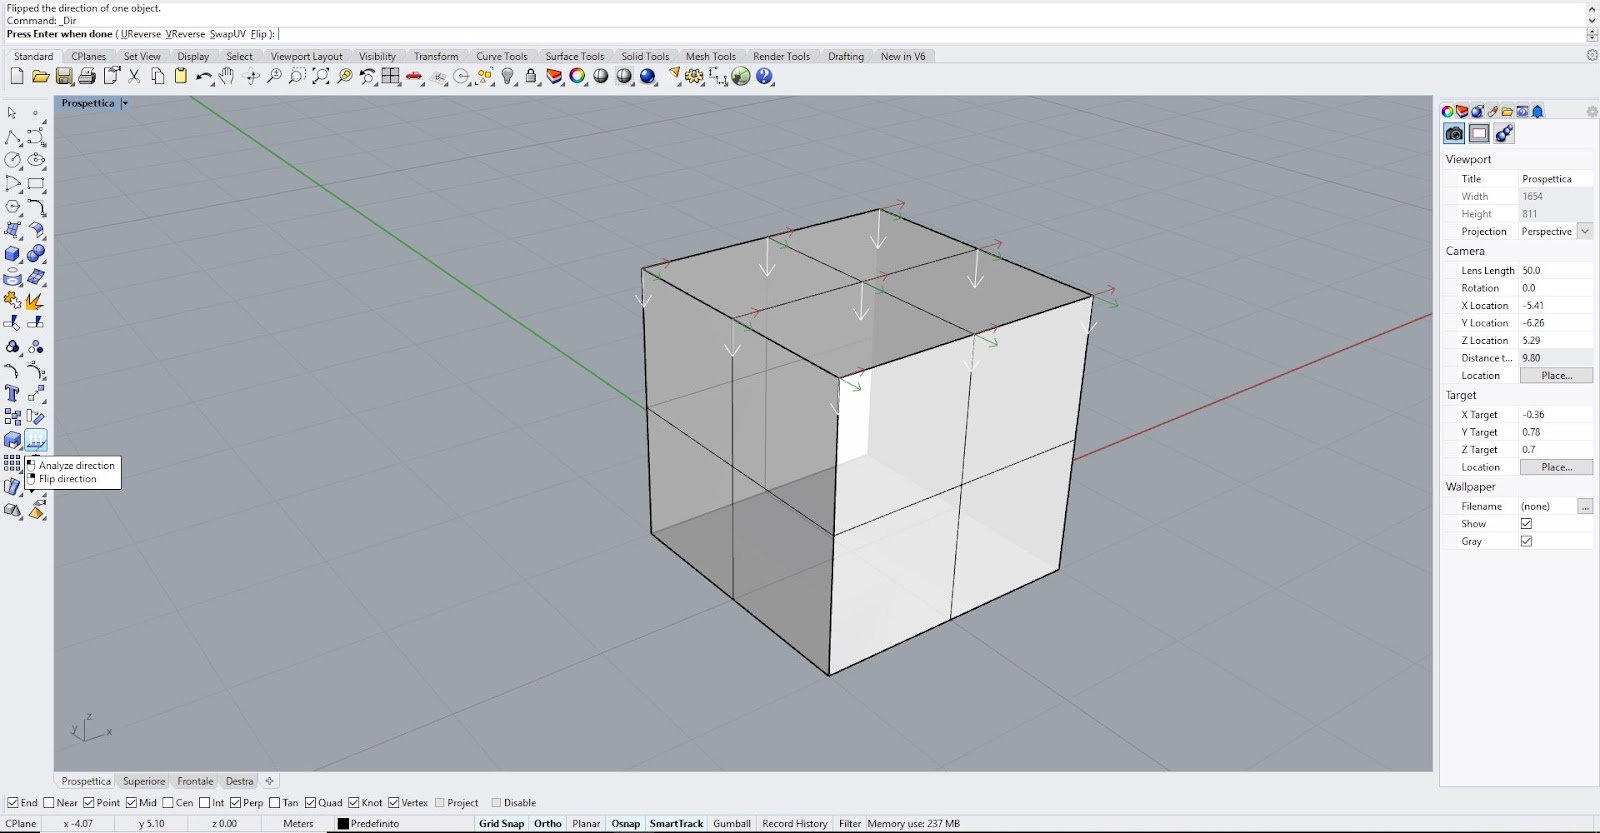
1. Check that all model mesh directions are oriented in the correct direction. On Rhinoceros the surface normals are indicated by calling the "Dir" function from the command line. In fact it is possible to notice that all the meshes are oriented towards the outside of the object; this is the correct way to export 3D models from Rhinoceros to Eyecad VR.

If, on the other hand, the normals appear to face towards the inside of the object, simply select the surface with the wrong direction and click on the "dir" command as shown:

Once this is done, right-click on the "invert" command to change the direction of the face as shown in the figure:
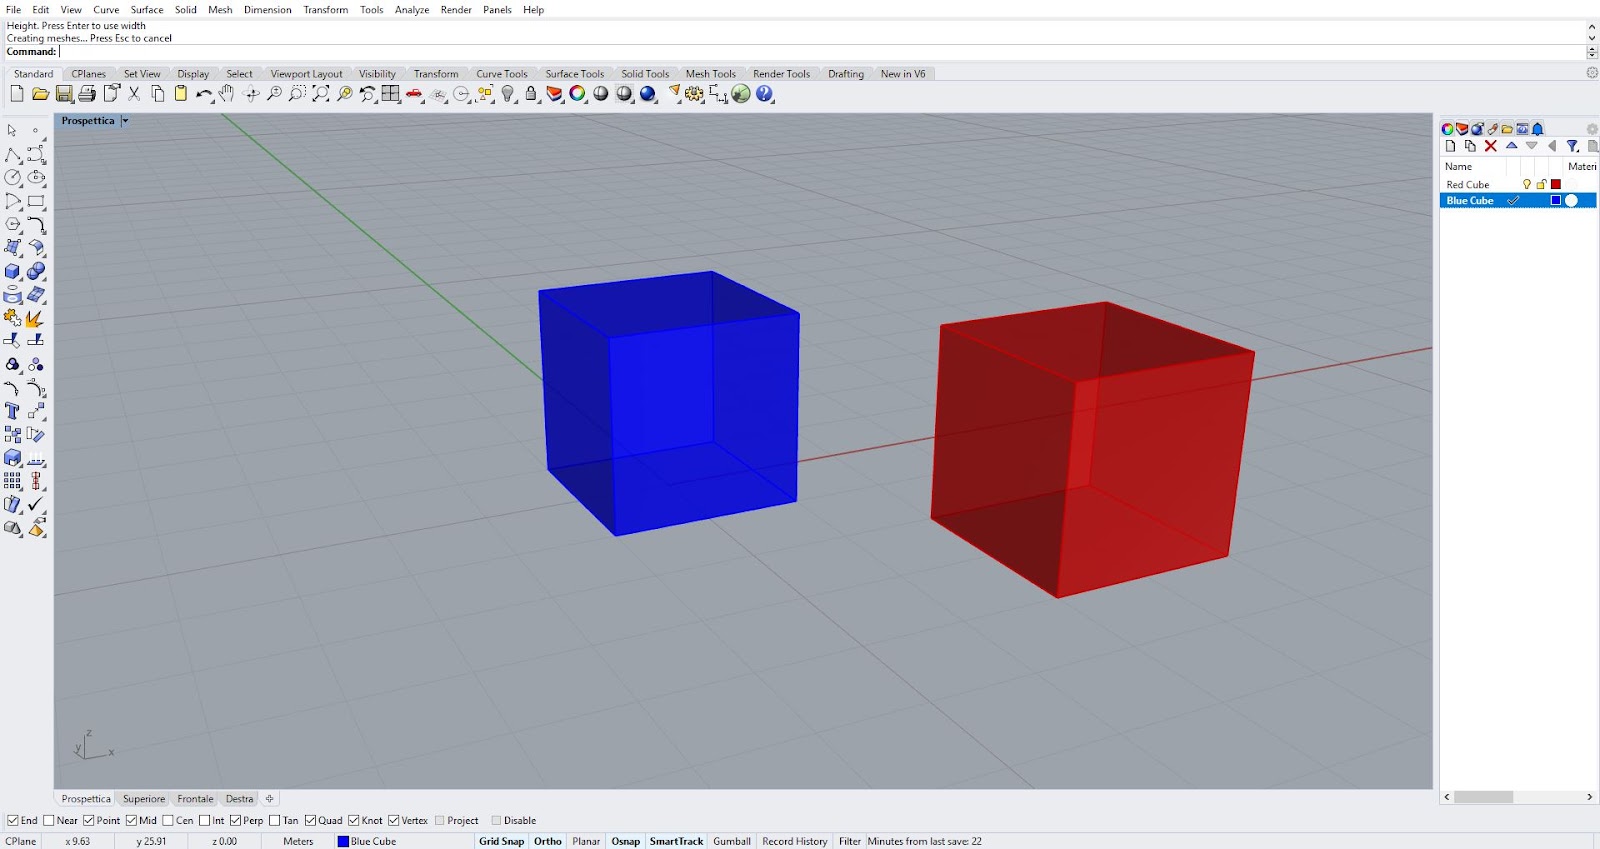
2. Make sure that all objects on the scene are divided by layer in order of materials. In this way you will have more ease in intervening on the object once imported in Eyecad VR.
3. Once you have followed these checks, just click on "Save as" or “export selected” and click on the desired format. In this guide we will show the recommended options for a successful export for FBX formats. Be sure to select the format: MotionBuilder (* .fbx).
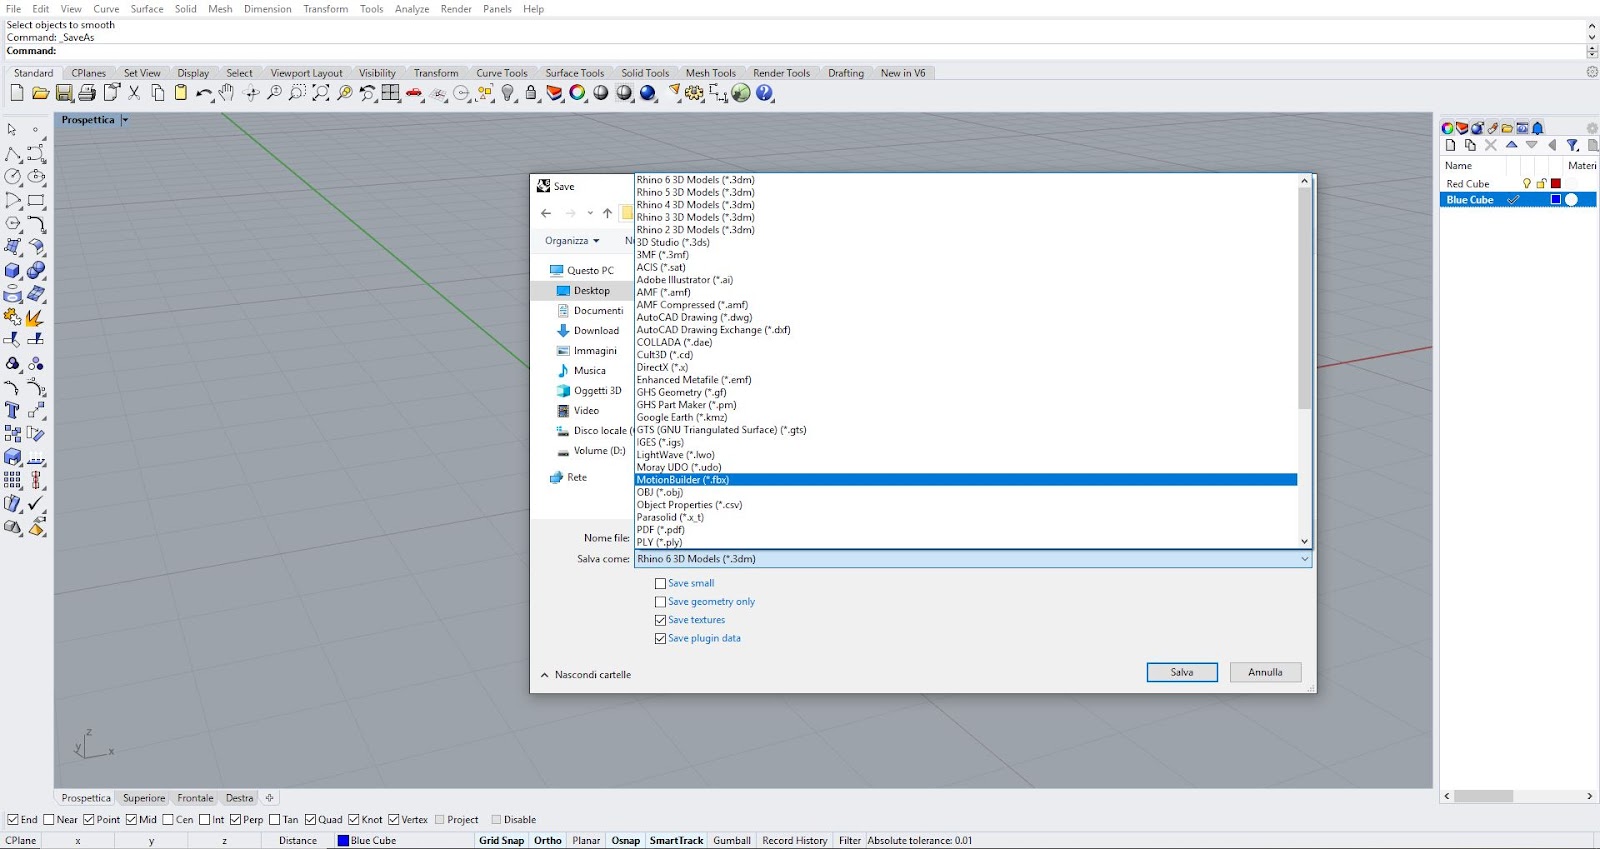
Select these settings in the dialog box:

Make sure you do not overdo the number of polygons during the transformation from N.U.R.B.S. to the mesh. Descend with the bar as much as possible without compromising the quality of the 3D model.
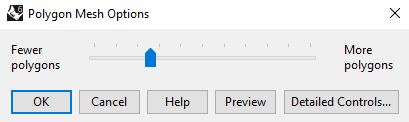
Alternatively, you can choose to export the project using detailed mesh checks.
